Tips and Tricks: Packing your bike for shipping

Let me start by saying that I don’t intend for this post to provide comprehensive instructions for how to pack a bicycle for shipping. The internet abounds with videos that serve that purpose and that were created by people more competent than I. Instead, this post is meant to show a few pictures of what ended up consuming most of a Sunday and to share a few tips that I didn’t find elsewhere (although I’m certain I’m not the first to think of them).

DSC_0463

Tip #1: Do it yourself. There’s a lot to be said for the convenience of putting someone else in charge of disassembling, packing, and shipping your bikes before your tour. But that convenience comes at a cost.  I’ve talked to bike shops that charge anywhere from $40 to $100 to pack a bike, and that excludes shipping. That’s a lot of money that could otherwise be spent splurging on a nice meal or a motel on a rainy night on our tour. Toss in the sense of accomplishment and self-sufficiency and some other lovely intangibles, and doing it yourself is definitely worth it.

Tip #2: Get a box from a bike shop.  You can buy brand new cardboard bike boxes from shipping stores and bike shops from $10 to $25. Or you could walk into a bike shop and say, “Hey! I’m going on a bike tour and I need to ship my bike. Do you have any empty bike boxes that I could have?” Generally they do and generally they’re excited for your trip and happy to help. (Aside: if your bike shop tries to charge you for something that they’re going to throw away, not only should you not pay for the box, you should also find a new bike shop.)

Tip #3: Use www.shipbikes.com. I don’t know how they do it.  It doesn’t make sense. If I go to the FedEx website and enter my bike package details, I am quoted a price of roughly $155 (UPS and USPS give similar quotes).  When I go to ShipBikes (which uses FedEx) and enter the same information, the quoted price is roughly $60. It’s not a scam; you print out a FedEx label and drop your bike off at a FedEx location. But I have no idea how they’re making it work.

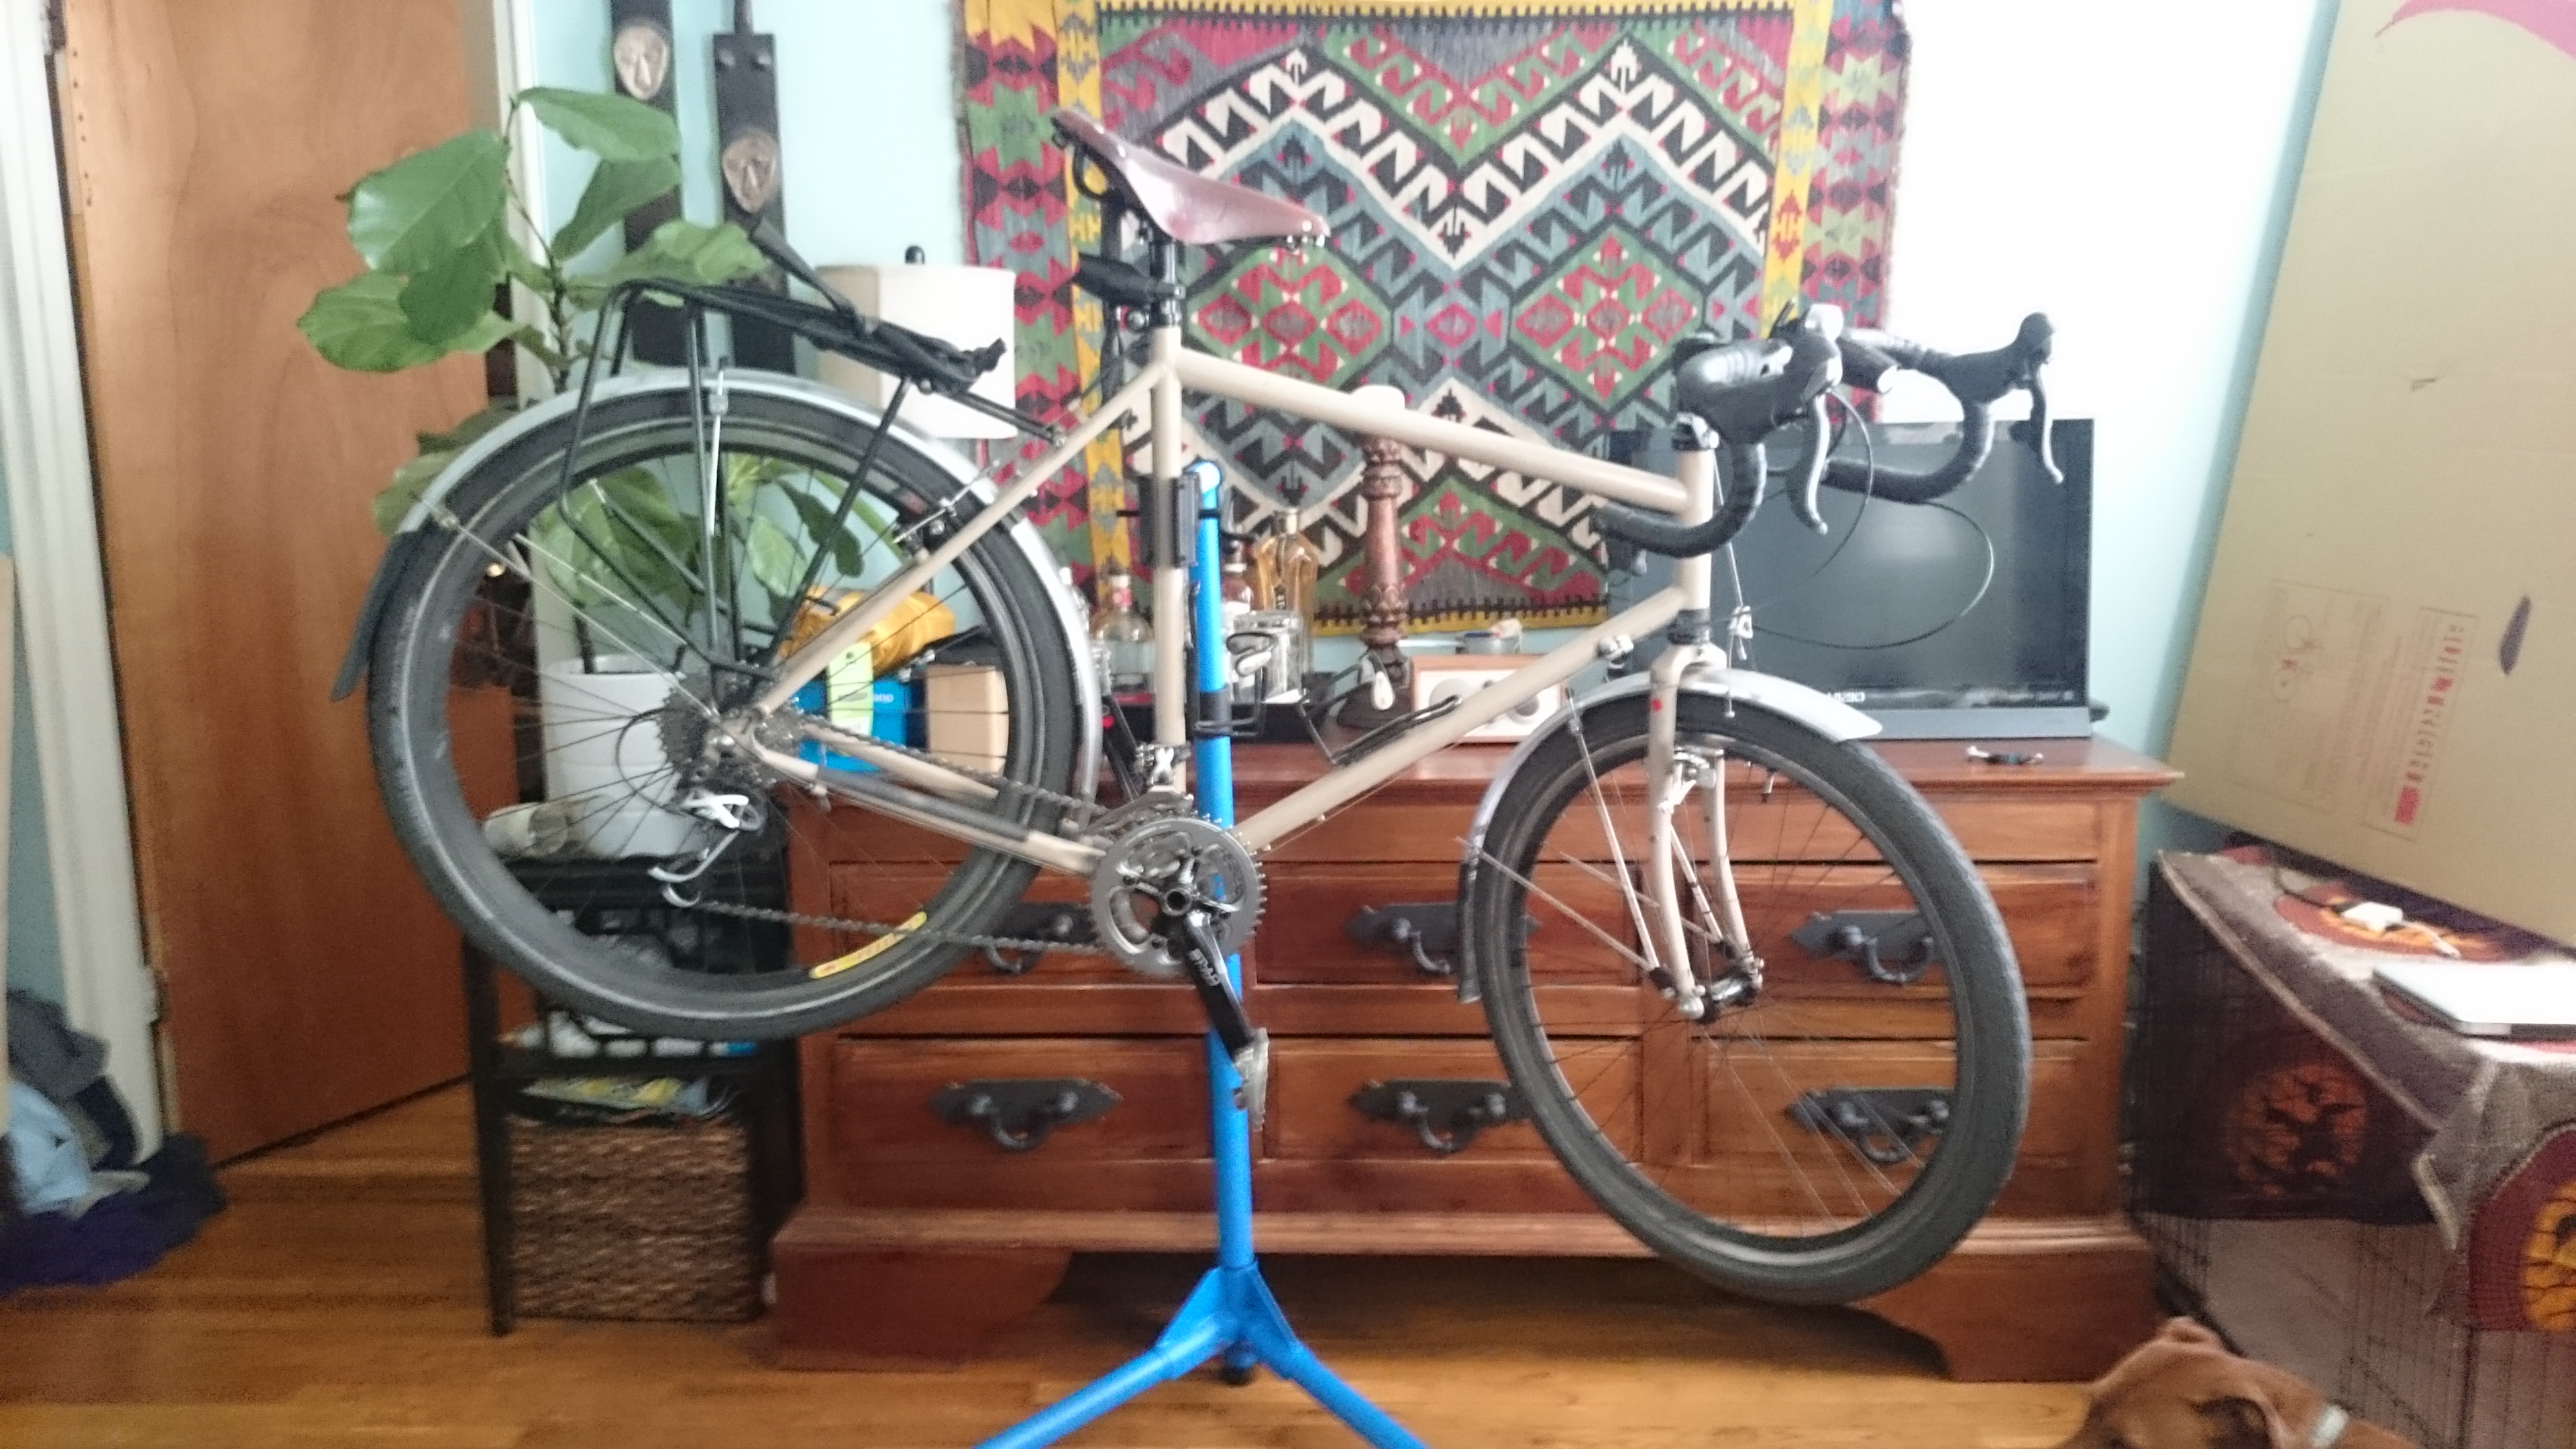
(Tangential) Tip #4: Bike stands are amazing. This isn’t strictly related to packing your bike for a tour, but it merits mentioning. I received a bike stand as a gift a year and a half ago, and it’s one of my favorite possessions. Suddenly, basic maintenance became a breeze and slightly more complicated maintenance (that includes the use of both hands, pedaling, or anything that is inconvenient on an upside-down bike) became much more feasible. I’ve learned tons about bike maintenance since I received the stand, which has saved me lots of money and also increased my confidence in my ability to perform on-the-road repairs on the tour. The stand folds up and lives in a small corner of our closet, so it’s worth the storage space (even in our 319 sq ft. apartment).

DSC_0468

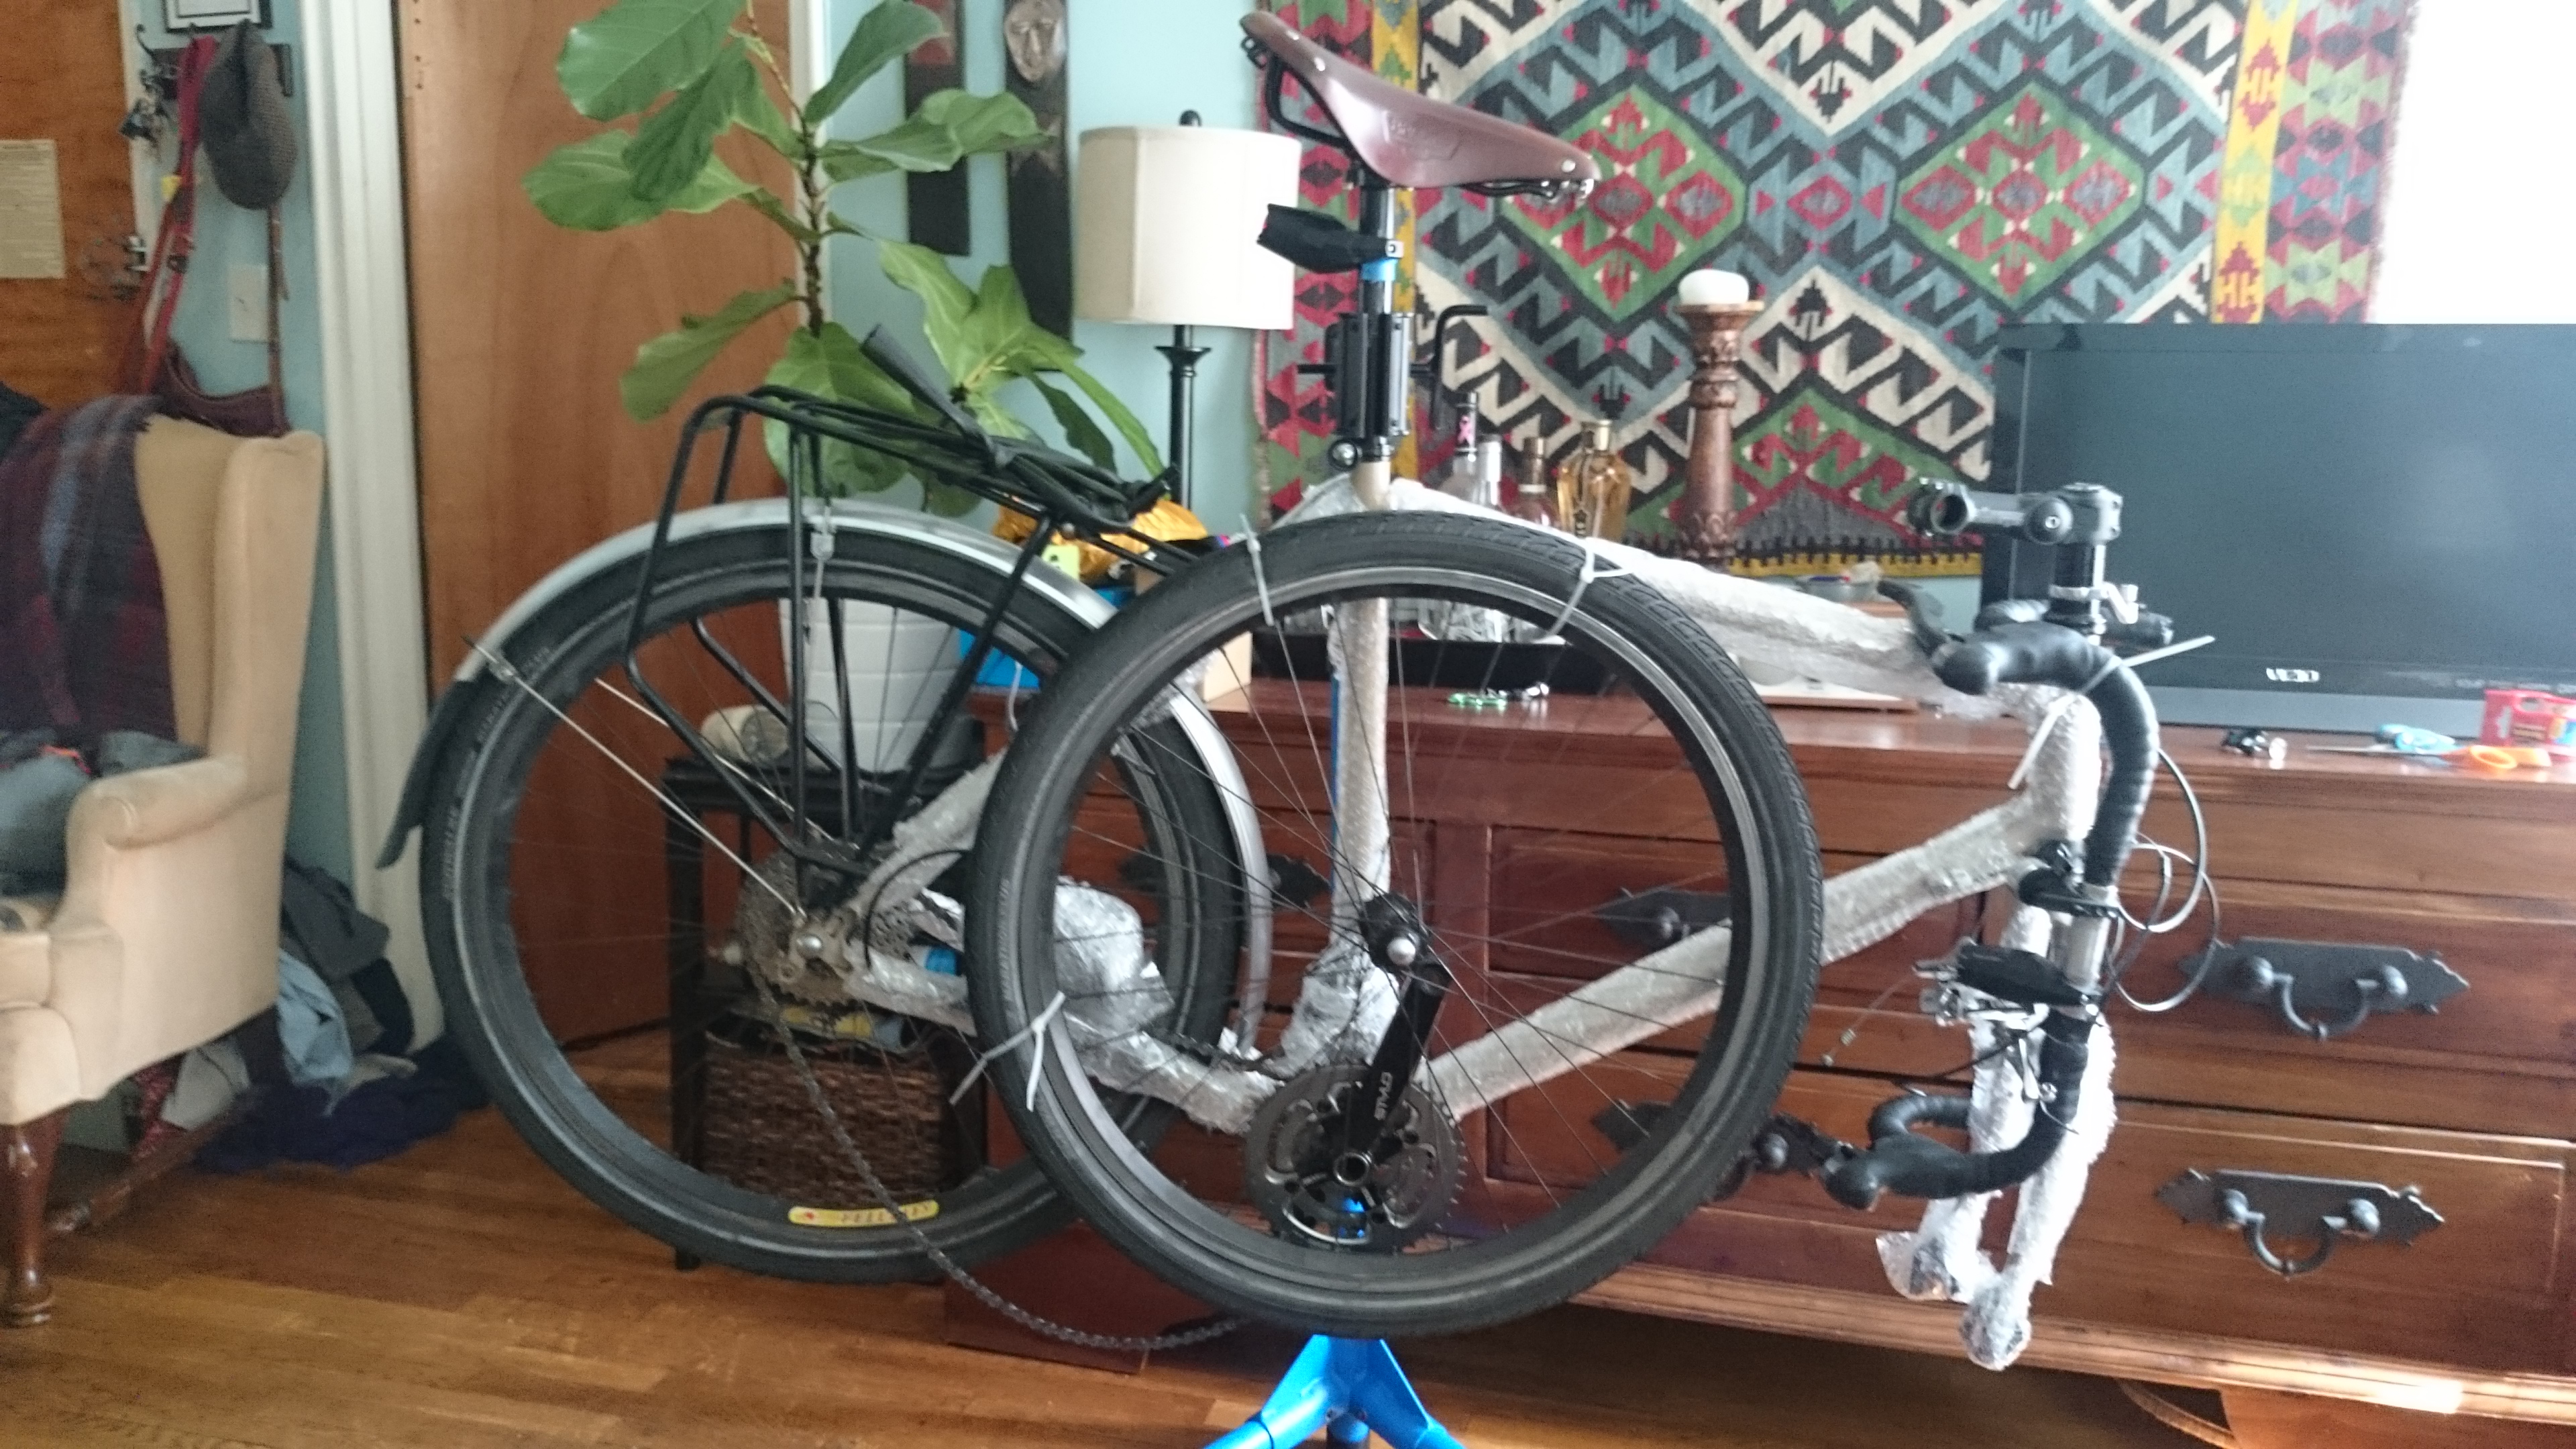
Tip #5: Protect that pesky rear derailleur. If someone came up to me and said, “Ted, I’m going to give you a ton of money on the condition that you only use it for bike-related purchases,” I would a) do everything in my power to build an ongoing relationship with that person, and b) buy a Rolhoff Speedhub. The rear derailleur is one of the most critical aspects of a well-functioning bike, and it is also the most vulnerable to damage.  When we went on our honeymoon tour down the Oregon coast, the derailleur on my LHT was bent slightly inward during shipping. It wasn’t impossible or even difficult to ride, but the shifting was off just enough to make it incredibly frustrating.

I don’t want to deal with that again. When I packed up my bike, I removed the chain from the rear derailleur by taking out the bottom jockey wheel. Then I removed the derailleur from the frame (leaving the cable attached) and wrapped it in bubble wrap.  Then, in order to make it as safe as possible, I rested the wrapped derailleur on the drive-side chainstay before I zip tied the front wheel to the frame, which held it nicely in place between the two wheels (you can see the result in the image above).  Hopefully this minimizes the risk of damage during shipping.

Tip #6: Shortcuts can veer long. This goes in the “obvious observations” file. Bike boxes are designed to fit the bike in the smallest possible box to keep shipping costs down. Thus, it’s tough to fit your bike in the bike box with all of its cumbersome accessories attached to the frame. I know this. I knew this.  But I still tried to pack my bike without taking off my rear rack and rear fender. That was a bad decision that led to unnecessary stress and annoyance. Take all of your accessories off and pack them in after the bike is already in its box.

DSC_0469

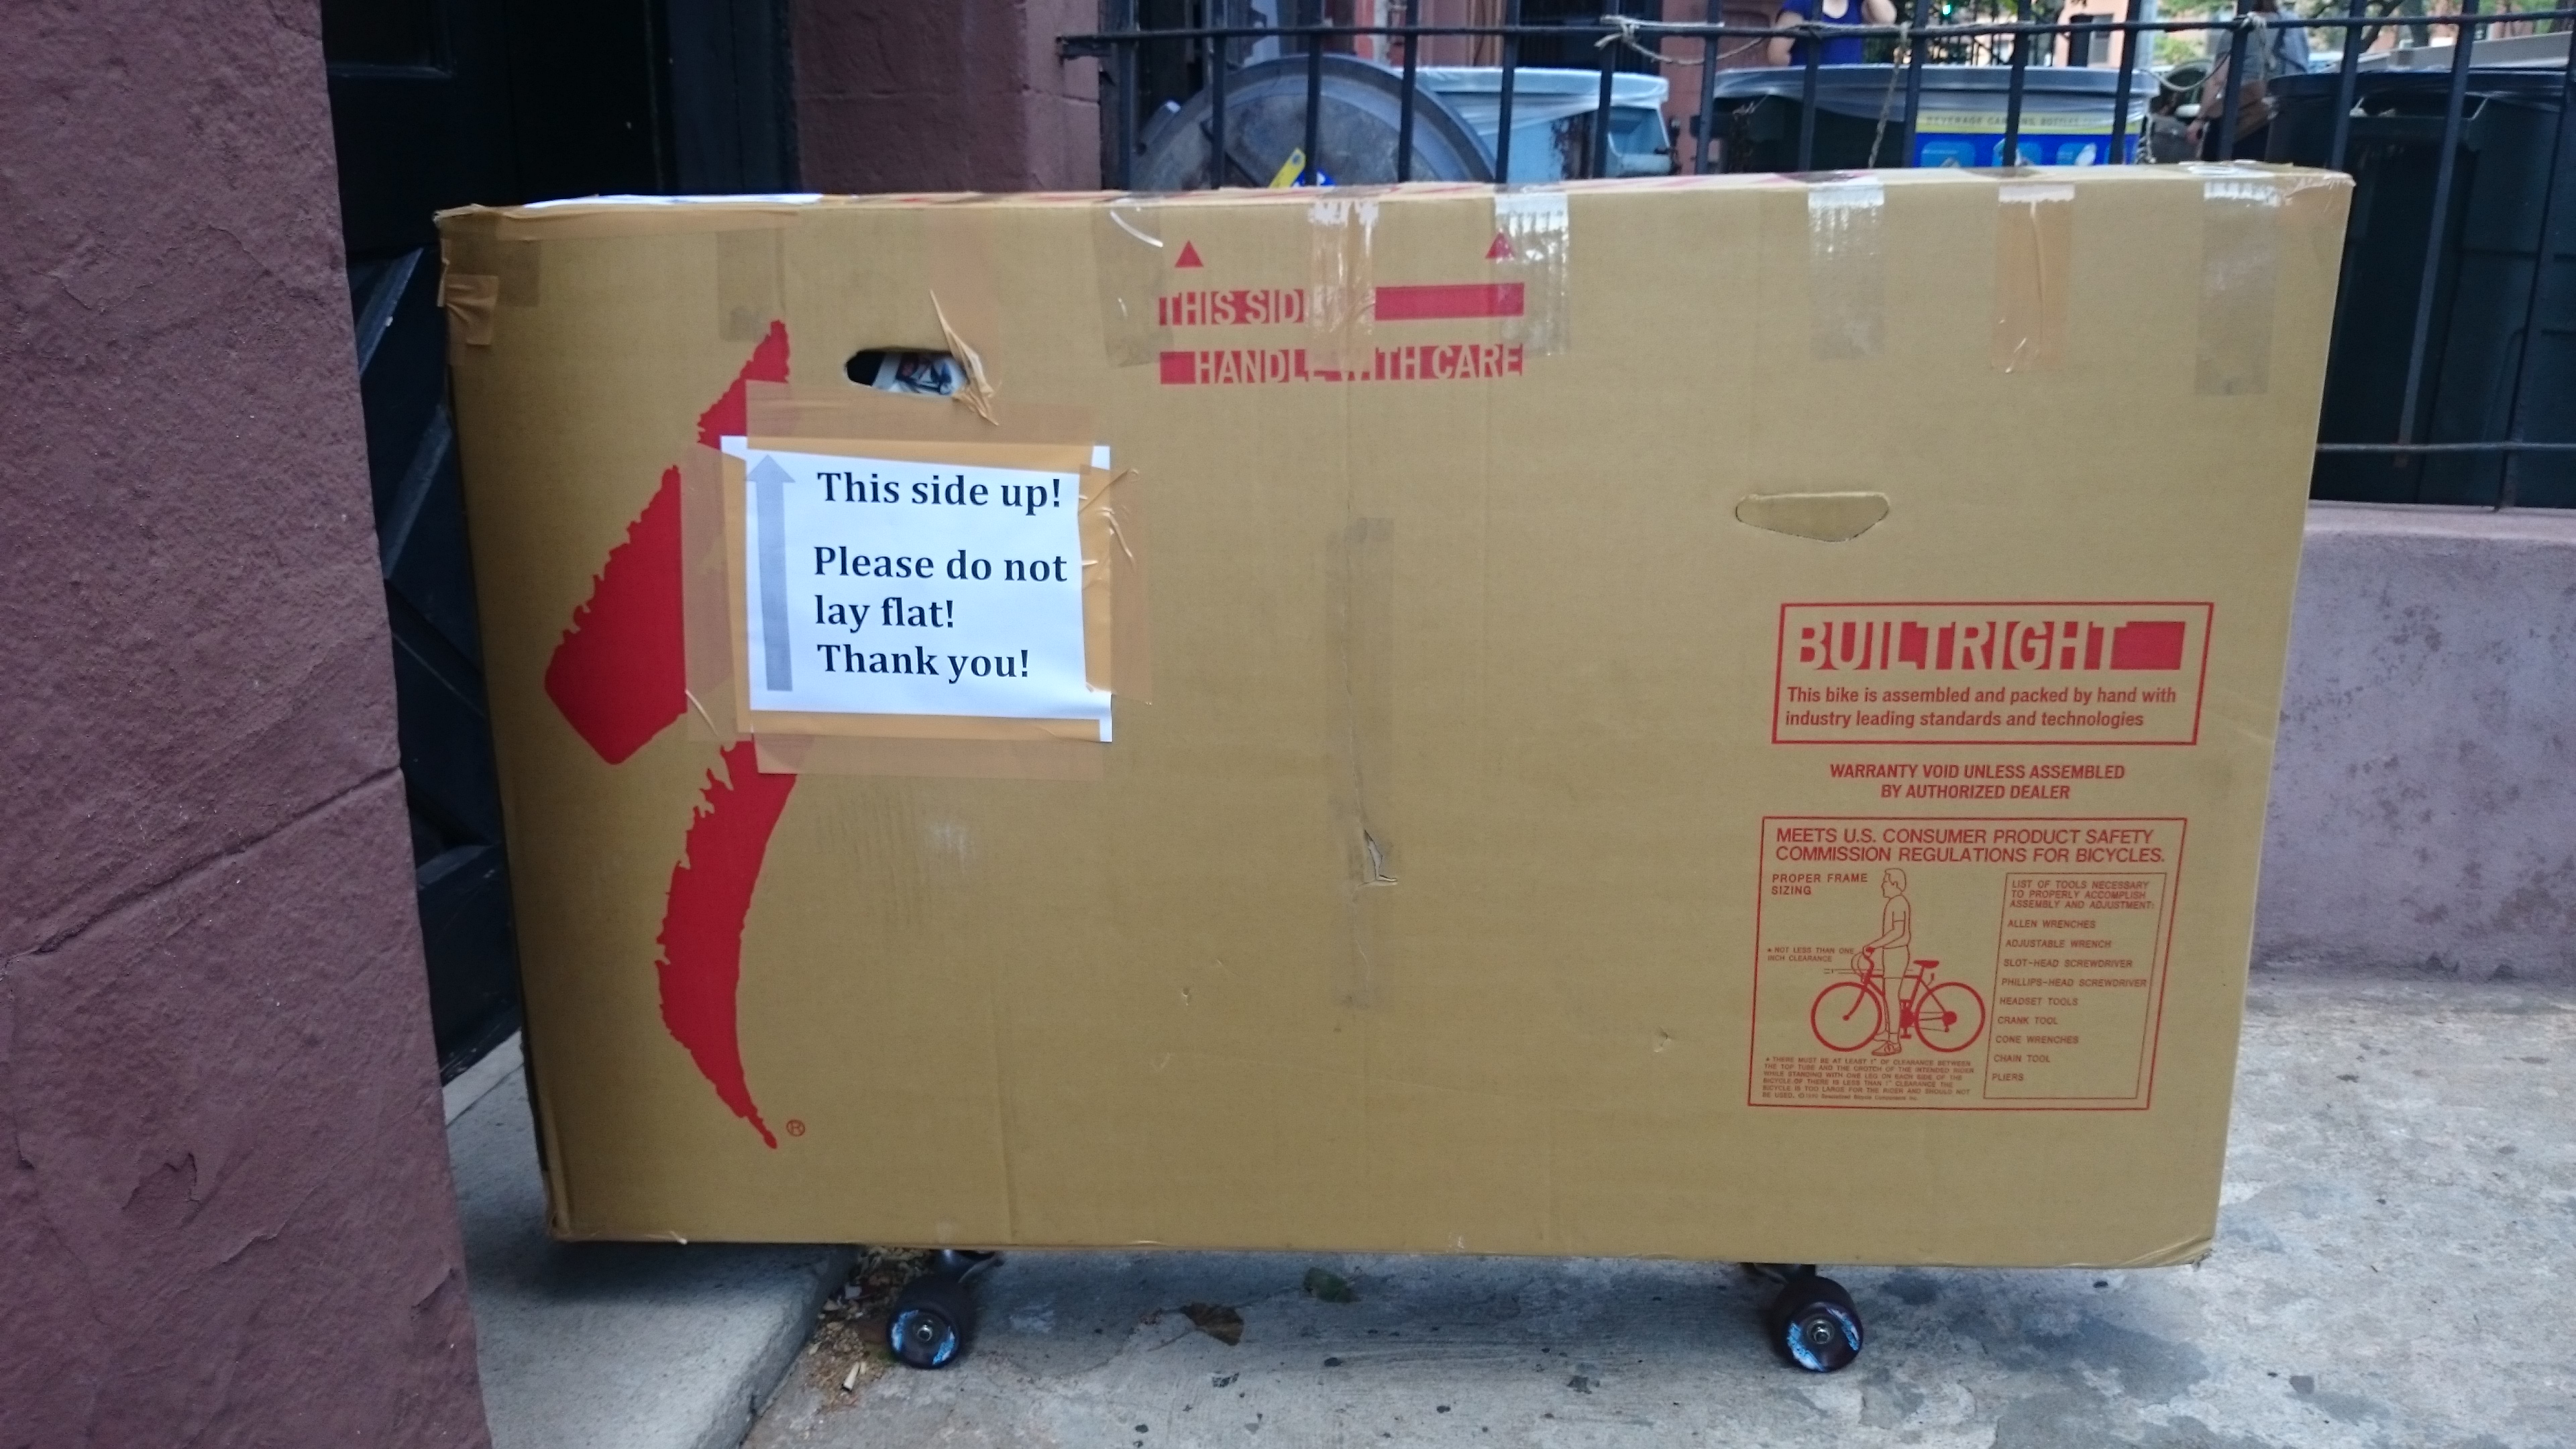
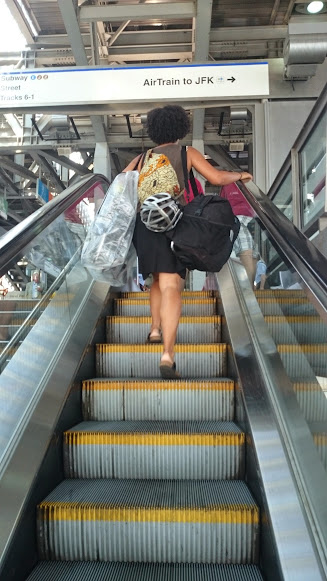
I got so good at maneuvering the boxed bikes on top of a longboard that I almost regret not having more bikes to pack. Almost.

Tip #7: Do what you can, but it all comes down to hope. Once the bike was in its box, I stuffed the empty space with newspapers to pad the bike and minimize the amount the bike could move around inside the box. I also wrapped accessories (e.g., water bottle cages) and put them in the box with the bike. Then I taped signs to the both sides of the box imploring the FedEx people to please treat my bike nicely.  And it will probably be fine.  But there’s always the chance that my bike will end up on the bottom of a big heavy pile or that it will cross paths with a FedEx employee who is having a bad day.  I could have certainly packed my bike more carefully and I hope I don’t regret not taking every precaution. For now, I’m just hanging on to hope!

We’ll let you know whether these tactics worked when we pick up our bikes in a couple weeks!

Tips and Tricks: Getting your Brompton onto a plane and into an overhead compartment

We did a ton of research on which folding bikes to purchase and ultimately landed on Bromptons for one reason: they fit in an overhead compartment (unless you’re on a tiny plane; more on that later). Yes, Bromptons are more expensive than Bike Fridays, Dahons, etc., but with bike luggage fees running up to $150 (one way), we will definitely save money after just a couple trips.

Airlines known for their focus on customer service are more likely to be okay with you putting your bike in an overhead compartment; however, you might have to be a little crafty because (1) Bromptons do not technically fit within most airlines’ allowable dimensions and (2) the whole “folding bike on a plane” thing is new and it just seems wrong. We’ve had success with Jet Blue and have heard positive stories from people flying Southwest.

Here’s what we did to get our bikes on the plane to San Jose, California with very little resistance from airport employees.

Before arriving to the airport:

Check the size of the overhead compartment when you book your flight. Your Brompton might not fit in a given airplane’s overhead compartments. It’s your job to figure out if it will. When you book a flight, the airline will tell you what type of plane you’ll be flying on. Do a quick search for the dimensions of the overhead compartment of that plane. Make note of these dimensions–as well as the dimensions of your Brompton–to share with the gate employees if they tell you your bike won’t fit. People can’t argue with math. Well, they can, but they’ll lose. It also helps to mention that you’ve carried your bike onto this exact model of plane before, so you know it will fit. We actually had to do this on a flight and the employee just shrugged and waved us on.

Also, some planes have large overhead compartments on one side and small ones on the other. This is a good piece of information to have if the gate employees tell you your bike won’t fit. It goes without saying, but if this is the case, try to board early even if you have to pay a little extra to do so.

Purchase the Dimpa bag from Ikea to disguise your bike, if necessary. Like I said, even though Bromptons are around the same size as a carry-on suitcase, airport employees still tend to be a little wary of people carrying bikes. We brought Ikea’s lightweight, durable, $4 Dimpa bags on our trip to California in case we suddenly got nervous or noticed some suspicious eyes watching our bikes. These came in handy when we needed to disguise our bikes on the Amtrak train in San Luis Obispo (where bikes are explicitly not allowed), and they also made carrying the bikes through the airport super easy. Yes, they’re slightly transparent, but somehow they still worked for us.

At the airport:

Remove the seat and seatpost and put a tennis ball on the seatpost opening. This step is crucial! Your bike will not fit in the overhead compartment with a bike seat. This requires an allen wrench, so make sure you keep your bike tool with you on the plane or remove your seat before checking your tool.

Don’t ever unfold your bike. Fold your bike the second you get to the airport and never unfold it again. People are more willing to turn a blind eye if they don’t ever see that your steel contraption actually does unfold to a full-size bike. It’s one thing to think this is possible, but another to see it happen. Like I said, bringing a bike through an airport is weird and airport employees’ (particularly TSA employees’) jobs revolve around noticing things that are weird and preventing them from happening. Try to fly under the radar.

Be cool. If you act like you know what you’re doing, people will be less likely to question you. We got the most questions about our bikes at the TSA checkpoint, but we just calmly answered people’s questions, smiled, and pretended it was just an everyday thing. All of the TSA employees we spoke to quickly turned from suspicious to curious, and we ended up laughing and cracking jokes with them.

Put the bike in rack/rolling wheels to the front, handlebars up. Once you get on the plane, you want to get your bike in the overhead bin as quickly as possible so as to not raise suspicion and also just to say, “I told you so.” The only way to do this is top first, handlebars up. Memorize this. Do not try it another way. You will waste time, it will not fit, and a flight attendant will approach you to say, “Ma’am, you’ll have to gate check your luggage” faster than you can say, “Holy mother of god, why did I listen to that idiot blogger.” A Brompton without a rack fits very easily, but a Brompton with a rack will still fit as long as you put it in top first, handlebars up.

At this point, you can rest easy! Your bike is on the plane and you didn’t even have to pay $150 to get it there. Congratulations! Now you can reassemble your bike, which should only involve putting the seatpost back in.

Installing Ergon GP2 handle grips, the most comfortable handle grips we’ve ever used!

A quick note: the most important part of this process is making it past security. Once you’ve done that, the worst that can happen is that you’ll have to gate check your bike (definitely not ideal, but still free). This is where your Dimpa bag will come in handy. If you have the time and ability, try to pad your bike in its Dimpa bag with extra clothes so that the luggage handlers don’t do too much damage. Although, we’ve heard stories of bikes without any protection at all going through the checked luggage process and coming away without any damage. This is not something I’m eager to try, but it’s a testament to the quality and durability of Bromptons. So if you’re planning to travel with your folding bike, spend a little extra money and get a Brompton. It will pay for itself after a few plane trips!